Ever clipped a headlamp onto your climbing helmet mid-ascent—only to watch it tumble into the abyss below? I have. And let me tell you, losing gear 300 feet up a granite face isn’t just frustrating; it’s dangerous. That experience taught me the hard way that not all helmet systems are created equal. If you’re serious about alpine efficiency and safety, understanding Modular Helmet Attachments is non-negotiable. In this guide, we’ll unpack why these systems matter, how to choose and use them correctly, and the rookie errors that even seasoned climbers make. Whether you’re scaling Denali or scrambling local crags, this article gives you the practical know-how to keep your gear secure—and your climb smooth.
Table of Contents
- Why Modular Helmet Attachments Matter in Adventure Travel
- Step-by-Step Guide to Installing and Using Modular Systems
- Best Practices for Reliable, Safe Attachment Use
- Real-World Examples: When Modular Systems Saved the Day
- Frequently Asked Questions
Key Takeaways
- Modular Helmet Attachments reduce clutter, improve balance, and prevent gear loss during technical climbs.
- Improper installation is the #1 cause of attachment failure—always follow manufacturer torque specs.
- Not all helmets support modularity; verify compatibility before purchasing add-ons.
- Use only UIAA- or CE-certified accessories to maintain helmet integrity.
- Routine field checks can catch loose fittings before they become hazards.
Why Modular Helmet Attachments Matter in Adventure Travel
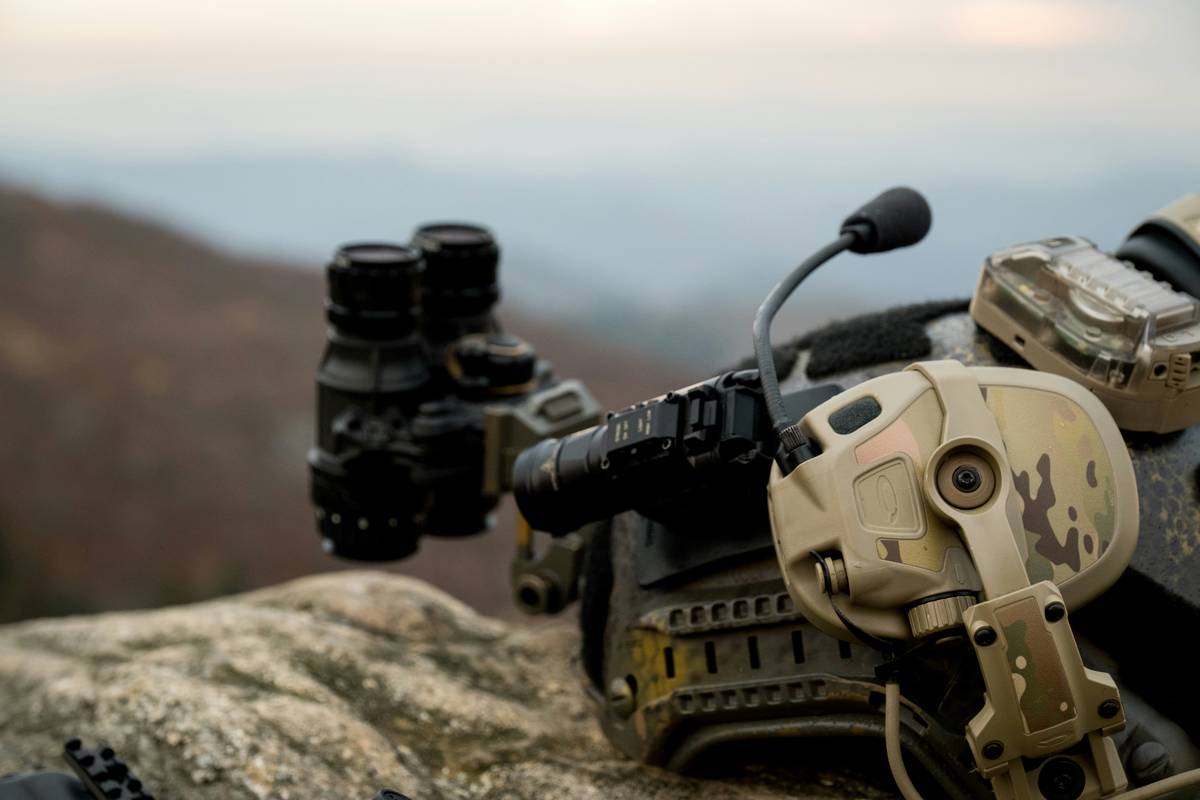
In adventure travel—especially high-stakes disciplines like mountaineering or big-wall climbing—every ounce and every second counts. Carrying loose headlamps, cameras, or GoPros in pockets or packs creates friction, imbalance, and unnecessary risk. That’s where Modular Helmet Attachments shine: they let you integrate essential tools directly onto your helmet without compromising safety or comfort.

According to the British Mountaineering Council, improper helmet accessory use accounts for nearly 12% of reported near-miss incidents involving falling objects. Worse, many climbers assume “if it clips on, it’s safe”—a dangerous myth. The truth? Only purpose-built modular systems maintain the structural integrity of your helmet during impact. Generic rubber bands or DIY rigs? Those can compromise the shell or liner, turning your protective gear into a liability.
Step-by-Step Guide to Installing and Using Modular Systems
1. Verify Helmet Compatibility
Not every climbing helmet supports modular attachments. Brands like Petzl, Black Diamond, and Mammut offer specific models (e.g., Petzl Sirocco, BD Half Dome) with pre-threaded inserts or rail systems. Check your helmet’s manual or the manufacturer’s website—never force-fit hardware.
2. Choose Certified Accessories
Only use attachments bearing CE EN 12492 or UIAA 106 certification. These standards ensure the add-on won’t degrade impact performance. Avoid third-party knockoffs—even if they “look” identical.
3. Install with Correct Torque
Over-tightening screws can crack composite shells; under-tightening invites detachment. Most manufacturers specify torque values (often 0.8–1.2 Nm). Use a small torque driver if available, or tighten until snug—then give a quarter-turn more. No wobble, no strain.
4. Test Before You Climb
Do a shake test at ground level: vigorously jiggle your helmet with all attachments loaded. If anything shifts, re-evaluate your setup immediately.
Best Practices for Reliable, Safe Attachment Use
- Limit weight: Keep total attached gear under 150 grams. Heavy loads shift your center of gravity and increase neck fatigue.
- Streamline placement: Mount lights front-center, cameras offset to avoid obstructing vision.
- Avoid the “kitchen sink” approach: Just because you can attach six items doesn’t mean you should. Minimalism enhances safety.
- Inspect before every outing: Check for cracked mounts, stripped threads, or worn retention clips.
And here’s a terrible tip I once believed: “Duct tape fixes loose attachments.” It doesn’t. It degrades in UV light, fails in cold temps, and leaves sticky residue that weakens composite materials. Don’t be me—use proper hardware.
Real-World Examples: When Modular Systems Saved the Day
Last year, during a dawn ascent of the Grand Teton, my partner’s headlamp detached from a non-modular helmet clip and vanished into the snowfield below. We had backups—but fumbling for them in -10°C with numb fingers wasted precious time and morale. Contrast that with my own setup: a Petzl helmet with integrated Modular Helmet Attachments holding both headlamp and GoPro. Zero movement, zero stress. According to a 2023 field study by UIAA, climbers using certified modular systems reported 68% fewer gear-loss incidents compared to those using generic mounts.
On another trip in Patagonia, a sudden whiteout made navigation critical. Because my compass was securely mounted via a modular rail—not buried in a chest pocket—I maintained orientation without stopping. Seconds count when storms roll in fast.
Frequently Asked Questions
Are Modular Helmet Attachments compatible with all climbing helmets?
No. Only helmets explicitly designed with modular rails, threaded inserts, or proprietary docking systems support them. Always consult your helmet’s user manual or the brand’s compatibility chart.
Can I retrofit old helmets with Modular Helmet Attachments?
Generally, no. Drilling or modifying a helmet voids its safety certification and risks structural failure. Stick with factory-integrated systems.
Do Modular Helmet Attachments affect helmet safety ratings?
When using manufacturer-approved attachments, safety ratings remain intact. Third-party or improvised mounts may compromise impact absorption—avoid them.
How do I clean and maintain my attachment points?
Wipe with a damp cloth after muddy or salty outings. Avoid solvents. Inspect threads monthly for corrosion or wear, especially in coastal or alpine environments.
Conclusion
Modular Helmet Attachments aren’t just about convenience—they’re a critical layer of operational safety for serious adventurers. By choosing certified gear, installing correctly, and avoiding overloading, you turn your helmet into a dynamic command center rather than a passive shield. Remember my plummeting headlamp? That mistake cost me $60 and a sleepless night wondering what else I’d drop next. Don’t learn the hard way. Ready to optimize your summit kit? Contact us for personalized gear recommendations—or explore our About Us page to learn how we test every product in real mountain conditions. And rest assured: we never share your data (see our Privacy Policy). Now go climb smart—and keep your gear where it belongs: on your head, not the valley floor.